New Reporting Scheduler
Wednesday 22 March 2023
In the reporting section of Self Admin, you can manage schedules as well as being able to add or remove reports and schedule recipients.
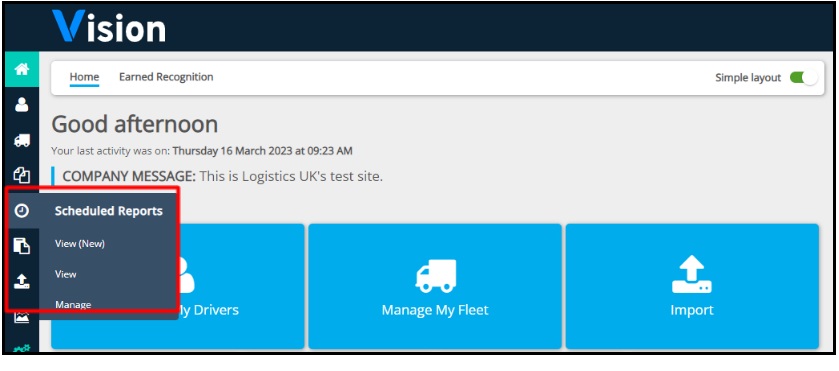
To access the reporting schedule management section of Self Admin, you need to hover over the Scheduled Reports icon on the left-hand side of your screen, then select ‘Manage’.
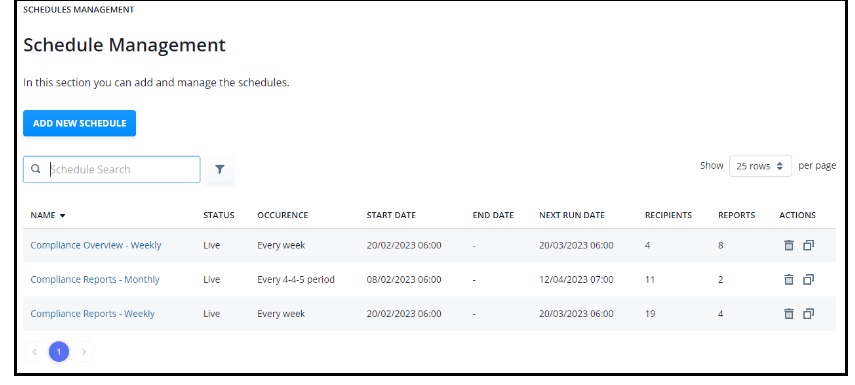
Schedule Management
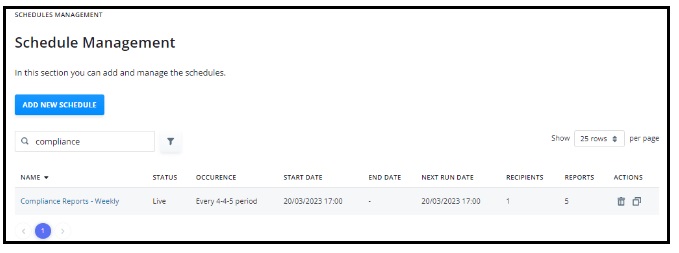
Within this section you can add new schedules and manage existing schedules within the account. This page will show you a summary of the schedules, how often they run, when they are next due to run, how many report and recipients are within the schedule and the status of the schedule itself.
Creating New Schedules
Note: you can only add a recipient to the schedule if they are a Vision user, therefore, if the user you want to select doesn’t have an activated Vision user profile, one will need to be created before completing this step, see user guide on ‘managing users in Self Admin’.
To add a new schedule, you need to select the ‘add new schedule’ button:

Here you will enter the schedule wizard, where you can then work through all stages of your schedule. The first section is ‘schedule settings’.
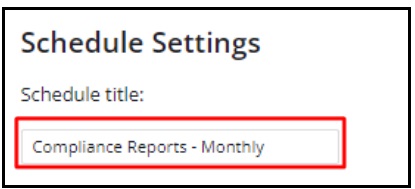
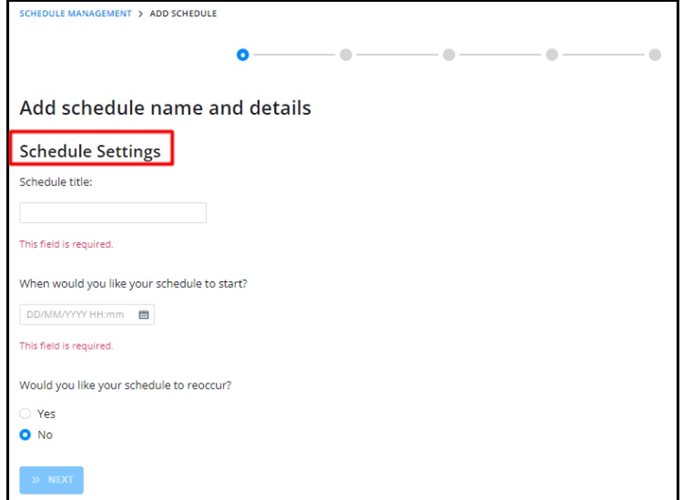 Firstly, you then need to enter a ‘schedule title’, this will be the name of the schedule which will be on the schedule itself, and on your schedule management page.
You then need to decide the date and time that you would like your schedule to start running, then decide if you want your schedule to reoccur. Note: when adding the date and time that you want your schedule to start running, if you want to schedule to reoccur then you will need to consider the date of your reports, for example, if you want a weekly report on a Monday for the previous fixed week – then your report would be running too soon as you may not have collated all information for that week before the report has generated.
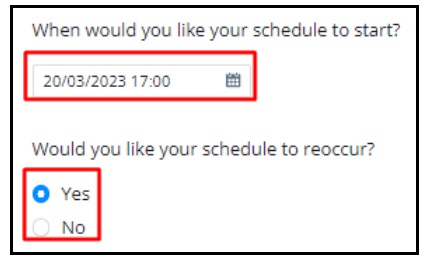
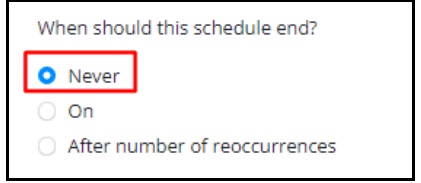
If you choose to have a reoccurring schedule, then you will need to determine how often you would like your schedule to reoccur, and whether the schedule has an end date.
-
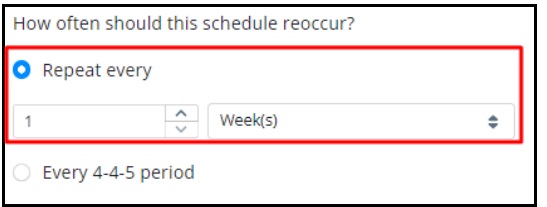
By choosing this option, you can choose to repeat your schedule on a daily, weekly, monthly, or yearly basis. You can even choose the number frequency
-
For example, if you enter 2 Week(s), this will mean that your schedule will run on the first day you select and on the same day and time every two weeks following
-
This option will allow you to manually choose a date range for the reports that you select in the next stages
-
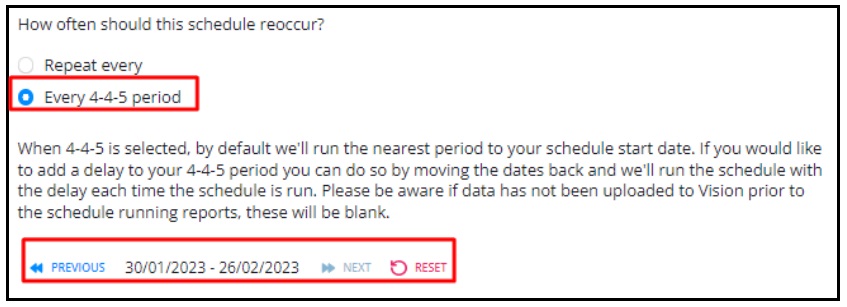
By choosing this option, this means that we will run the schedule every 4 or 5 weeks depending on the 4-4-5 accounting periods
-
By default, we'll run your chosen reports against the nearest period to your schedule start date. If you would like to add a delay to your 4-4-5 period, you can do so by moving the dates back and we'll run the schedule with the delay each time the schedule is run. This means that you will not be able to choose the date range you wish to generate for your reports
-
This type of report is best suited to the monthly style, as it falls in line with the calendar month
-
Note: if data has not been uploaded to Vision prior to the schedule running reports, these will be blank, so you may need to consider the date range of your schedule and the frequency of uploading data
-
This is our recommended option for monthly reporting
-
By choosing this option, this means that you can select a date that you want the schedule to end
-
For example, if the schedule is only temporary, then this would be a suitable option if the date is known
-
By choosing this option, this means that you can choose how many times you want your schedule to run before it stops running
-
For example, if the schedule is only temporary, then this would be a suitable option if the number of times you want the report to run is known, i.e. I want this schedule to end after 6 weeks of running, so if your schedule is weekly, then you can enter 6 in the number of reoccurrences, and then the schedule will complete
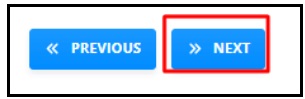
Once you are happy with your schedule settings, then you can select the ‘next’ button at the bottom of the page.

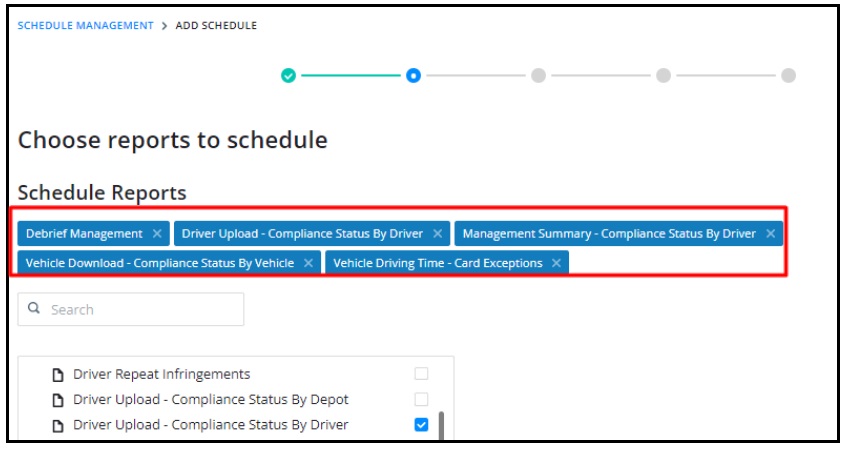
The next section, ‘schedule reports’ allows for you to choose the reports that you want. Don’t worry if you want more than 1 version of the same report for different criteria, we will cover this in the next stage of the wizard.
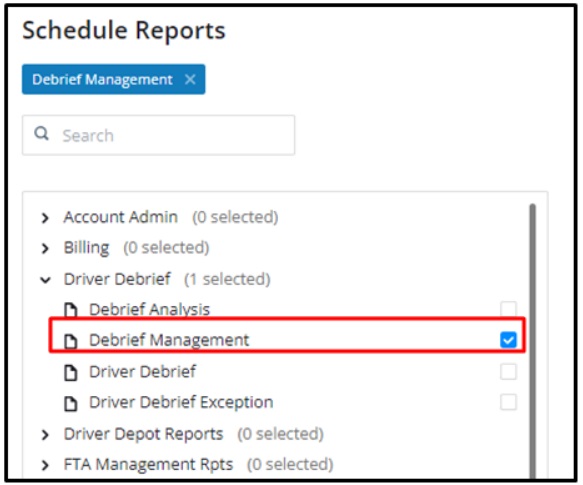
If you know the name of the report that you want to add, then you can search for it using the search box and tick the report(s) you want to have included in your schedule:

Alternatively, you can go through the section of the report and then tick the report(s) that you want to include in your schedule.
All reports that you choose for your schedule will appear at the top of the page, if you decide that you no longer wish to include this report in your schedule, you can either find it again in the list and untick or you can press the cross next to the report name:
Once you are happy with your selection of reports, then you can select the ‘next’ button.
The next section, ‘schedule report parameters’ allows for you to choose the parameters you want your report to run against. Note: if you have chosen a 4-4-5 schedule and the report has a date range, then the only parameter you won’t be able to adjust at this stage is the date range as that was selected in the previous step.
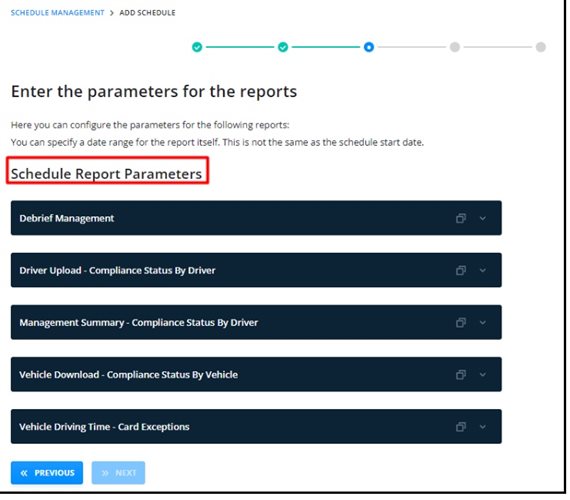
To apply the parameters to the report, select the dark blue band containing the report that you want to edit. Then complete all fields with the criteria of your choosing. For example, you may wish to receive a management summary – compliance status by driver report, so your parameters would look like the below:
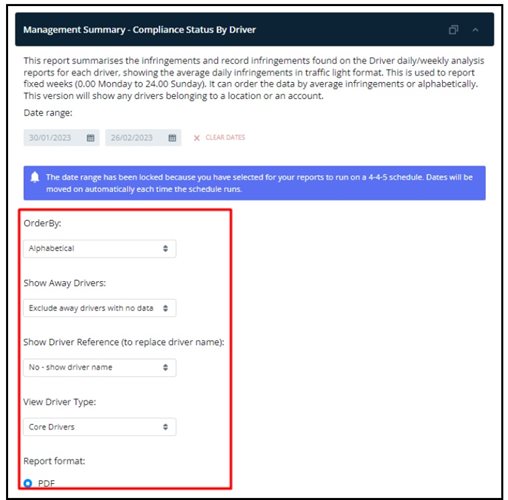
You can then repeat the step above for each individual report that you have chosen to include in your schedule.
As mentioned previously, you will be able to duplicate a report within the schedule and run it for a different set of parameters. For example, in the above report, you can see that we selected to ‘view driver type’ for ‘core drivers’ only, you may want to receive another report with the same criteria, but for ‘agency drivers only’.
To do this you can duplicate the report by clicking on the duplicate icon in the dark blue banner with the report name, then update the criteria in the second version of the report, noting the ‘(1)’ at the end of the report name to signify a duplicate report:
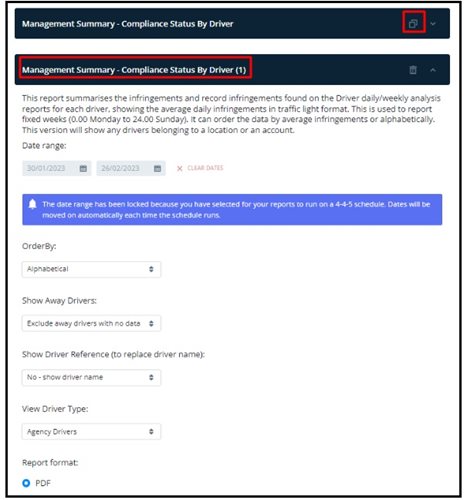
If you decide that you no longer wish to have the duplicate report at this stage, you can then press the delete button in the dark blue banner and this will remove the duplicated report.

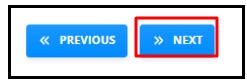
Once you are happy with all criteria within the reports you can then press ‘next’. However, if you decide that you either want to add more reports, or you want to remove a report that you have selected, then you can press the ‘previous’ button to go back to the previous stage of the wizard to select or remove your reports. Note: you will not be able to move to the next section until all required fields are completed for all reports within the schedule.
The next stage is ‘schedule recipients’, this stage will allow you to choose which Vision Users you want to receive scheduled reports. Note: a recipient of the schedule will receive reports for each location they have access to.

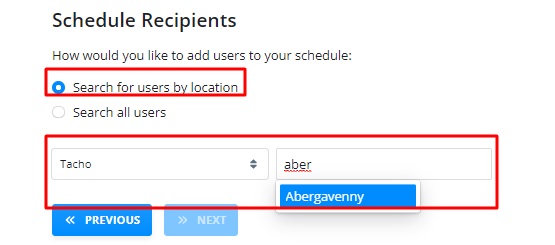
You can choose to search for you users by looking for users with access to a certain Vision location or to search a list of all Vision users.
To search by location, select the ‘search for users by location’, then select the business area, then start typing the location name and once the location you want appears, select from the list:
Once you have selected the location, this will return a list of all users who have access to that location, select your schedule recipients by putting a tick next to their username.
Alternatively, to search your full list of users, select ‘search all users’, then you can search by scrolling up and down, using the search box or if you want to search for users with a particular user role, then you can use the filter. When you have located your user, put a tick in the box next to their email address:
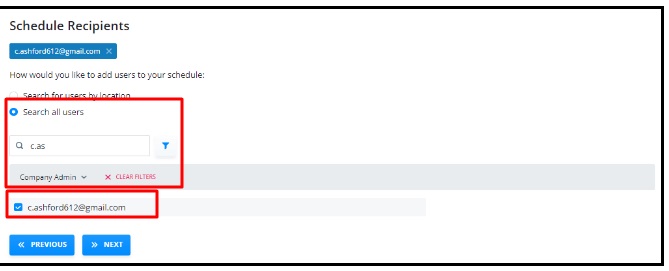
All schedule recipients which have been selected will appear at the top of your screen. To remove a selected recipient, you can untick the box or press the cross next to their name in the top section of the screen.
Once you are happy with your recipients, select ‘next’.

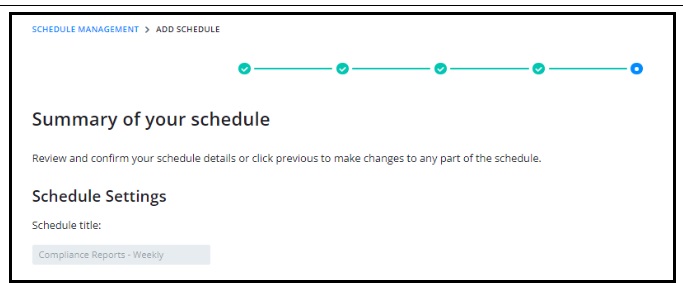
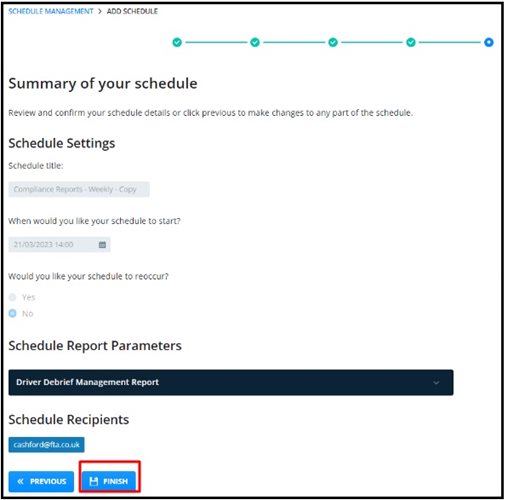
You will now find yourself in the final stage of the wizard where you will see a summary of all the information that you have selected. If you need to change anything, scroll to the very bottom of the page, and use the previous button to go back to the stage that you need to change. Note: you will need to select previous on every screen you go back through.
If you are happy with your schedule, the reports, and the recipients, then click ‘finish’.
Once you select finish, you will see a confirmation screen where you can choose to then set up another schedule by selecting ‘add new schedule’, where you can then repeat the above steps or go back to the schedule management page.
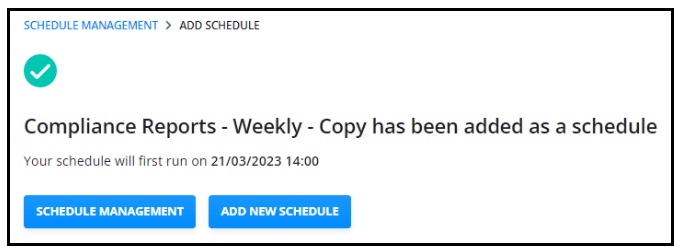
If you go back to your schedule management page, you will be able to see your schedule which has been set up.
Cloning or duplicating an existing schedule
When setting up schedules, you may find that you want to ‘clone or duplicate’ a schedule, this means that you are copying an existing schedule set up. Note: if you have a lot of recipients on your reporting schedules, it may be easier to clone the schedule and just amend the schedule settings, reports and parameters.
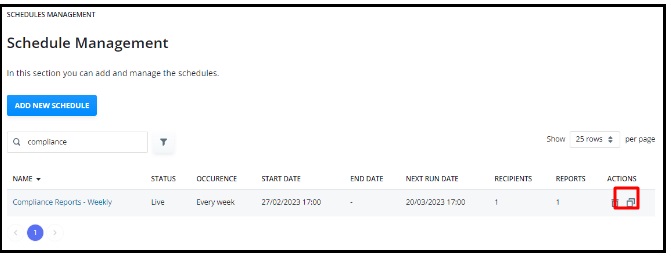
To clone or duplicate a schedule, in the schedule management page, select the duplicate icon:
Once you have duplicated the schedule, this will take a copy of the schedule and put it into the wizard walkthrough steps that we completed in the ‘creating a new schedule’ stage of this user guide. Complete the steps of the wizard and make changes where required.
Once you are happy with your schedule, in the final stage select ‘finish’:
Once you select finish, you will see a confirmation screen where you can choose to then set up another schedule by selecting ‘add new schedule’, where you can then repeat the above steps or go back to the schedule management page.

If you go back to your schedule management page, you will see a list of all your schedules.
Editing an existing schedule
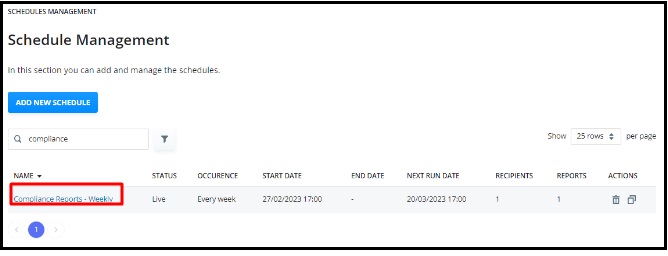
To edit an existing schedule, you can click on the schedule name from the schedule management page, and this will take you into the edit schedule screen.

When in the edit schedule screen, you will see that there are 2 options on the left-hand side. The first option being the ‘schedule settings’ which is where you can edit your schedule. Within this section you will be able to update the schedule name, add additional reports, amend certain parameters of an existing report, and add or remove schedule recipients. Note: you will not be able to edit, the start date, the reoccurrence or date ranges within the report criteria.
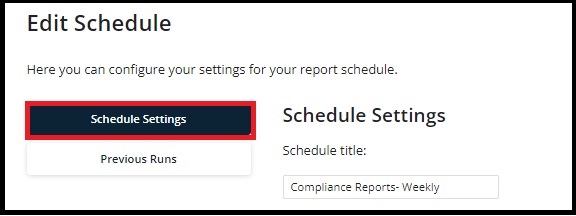
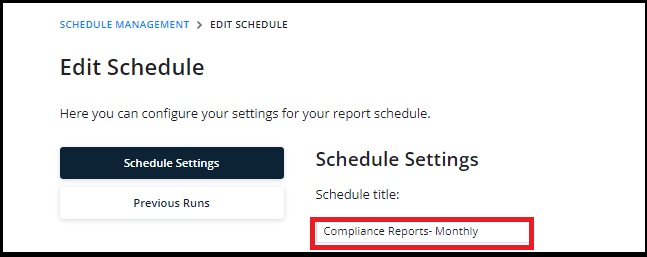
To edit the schedule name, click into the ‘schedule title’ box and update the name of the schedule. Once completed, scroll to the very bottom of the page, and select the blue ‘save’ button:
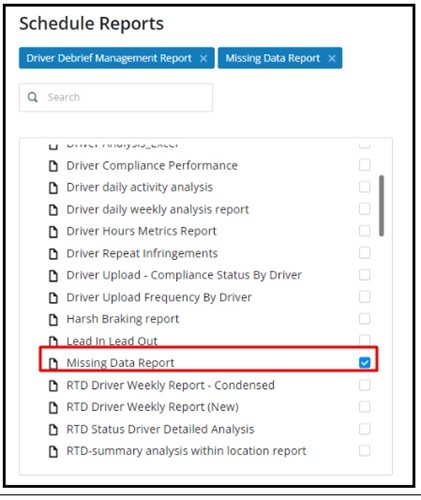
To add another report to the schedule, scroll down to the section called ‘schedule reports’ and in the same way you selected reports when creating the schedule, locate your report from the list and select it. In this example the missing data report has been selected.
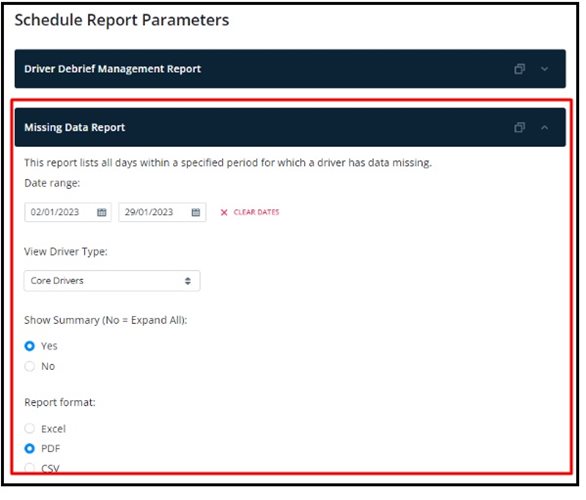
You will need to apply the schedule parameters to the report(s) you have selected, by clicking on the dark blue band containing the report name and then populating all information. Note: you can duplicate a report by using the duplicate feature as mentioned in the creating new schedules section of this guide.
Once you are happy with your report(s) and parameters you can press the blue ‘save’ button at the bottom of the screen.

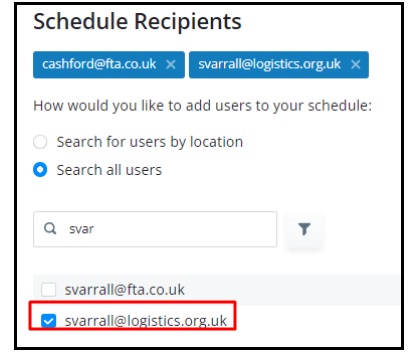
To add a new recipient to the schedule, you can either search for a user based on a location, or search for all users and scroll down or use the search box. In this example, you will see that I have selected to add svarrall email address as they are ticked in the list and shown at the top of the schedule recipient’s section.
Once you are happy with your recipients, you can select the ‘save’ button at the bottom of the page and this will add the recipients to the schedules the next time the schedule is due to run.
If you want to remove a recipient from the recipients list, then you can go to the ‘schedule recipients’ section and locate their name, either from the list or from the blue boxes containing the email address and either untick or press the cross., then press the ‘save’ button at the bottom of the page’.

Checking previous runs of a schedule
To look at the previous runs of an existing schedule, you can click on the schedule name from the schedule management page, and this will take you into the edit schedule screen.
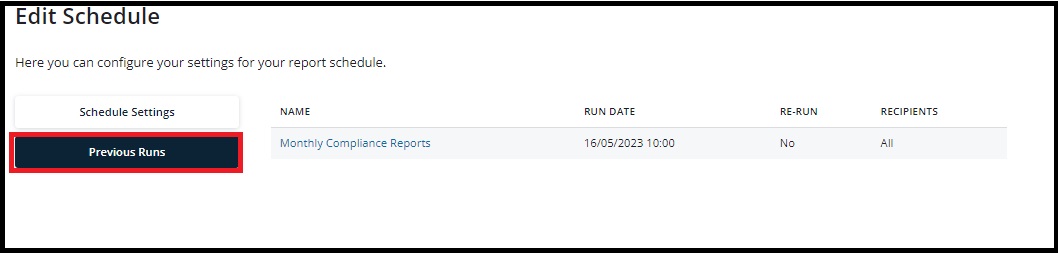
When in the edit schedule screen, you will see that there are 2 options on the left-hand side. The bottom option, ‘previous runs’ is where you can see the schedule name, when it ran, if the schedule had been rerun and which recipients it went too.
Check schedules which have an error
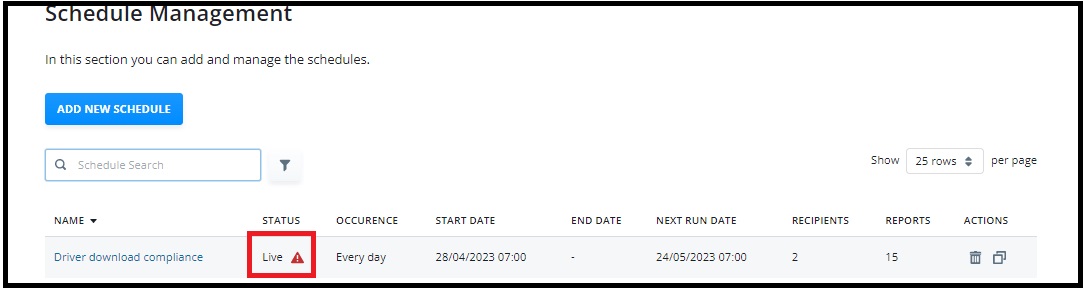
On occasion, you may see that your schedule has an error when on the schedule management page:
To look at the schedule errors for an existing schedule, you can click on the schedule name from the schedule management page, and this will take you into the edit schedule screen. Click the "Previous Runs" option to view more information:
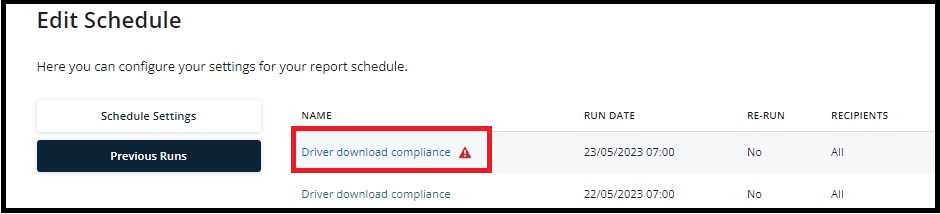
You will see the error against the occasion of the schedule that caused the problem, clicking the name will display the error, which in most cases will be rectified by clicking the "Regenerate Failed Reports" button:

Other options on edit schedule
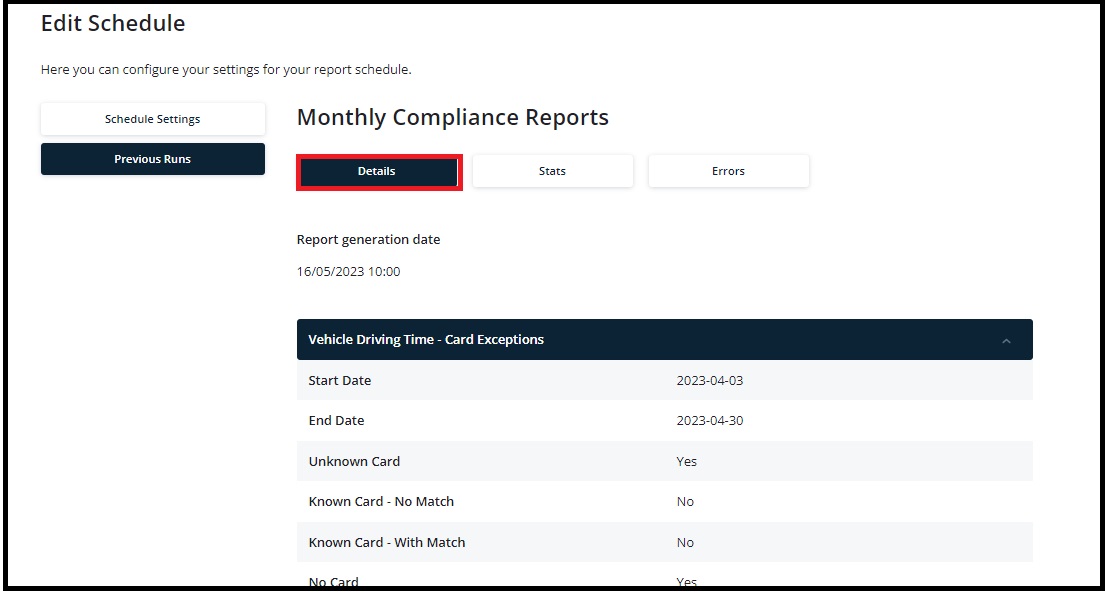
The "Details" options shown on this page will display details of the report parameters set and when that occurence of the schedule ran:
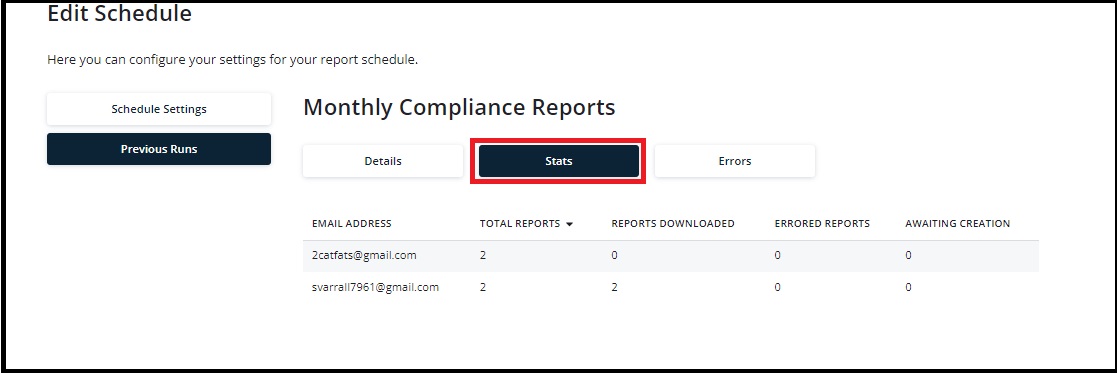
The "Stats" section shows the status of the reports being delivered to each recipient, including details of how many of those reports delivered have been downloaded in that specific occurrence of the schedule:
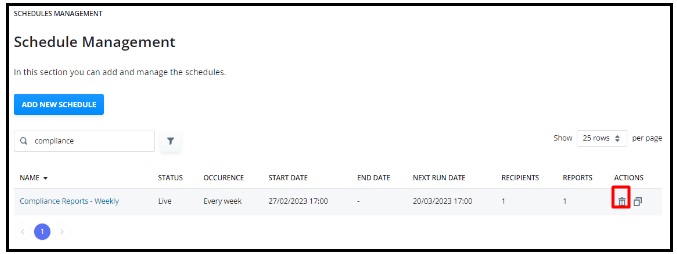
Deleting a schedule
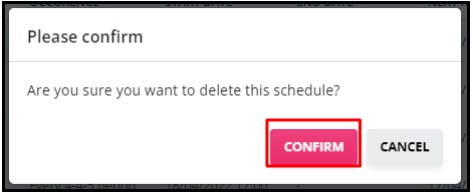
To delete a schedule, on the schedule management page, click on the bin icon at the end of the row.
You will see a confirmation box asking if you are sure you want to delete, if so, then press the red ‘confirm’ button: